

How to transfer a photo using Mod Podge!
EASY STEP BY STEP TUTORIAL TO TRANSFER AN IMAGE USING MOD PODGE

This is a technique I teach with my photography students which can instantly transform a photo into a work of art. Once you get the hang of the process you can customise your process to achieve a range of different outcomes!
I have tailored this tutorial to provide easy step by step instructions of how to transfer an image using Mod Podge.
STEP 1: GATHER MATERIALS

Gather your supplies with the following materials list:
*Image you want to transfer (this tutorial uses laser printed images)
Mod Podge
Roller (a credit card or similar can be used instead)
Sponge
Rag
A surface to transfer onto e.g Wood, canvas
*Optional - Gloss varnish
*A reminder that your image will appear reversed once you transfer it, if the image has text or has essential features, be sure to mirror image before printing.
STEP 2: APPLY MOD PODGE
Once you have cut out your image and have your surface ready to go; apply a thick layer of mod podge onto your photo with a sponge.
STEP 3: PLACE YOUR IMAGE ONTO YOUR SURFACE

Place your image carefully on to your surface exactly where you want it to go. Another reminder that your image will appear reversed.
Using a roller or alternative object (e.g credit card), flatten your image to ensure there are no bumps or bubbles.
STEP 4: LEAVE TO SET FOR 12-24 HOURS
This is the hard part… walking away from your project to let it set. I would recommend at least 12 hours before beginning the next step.
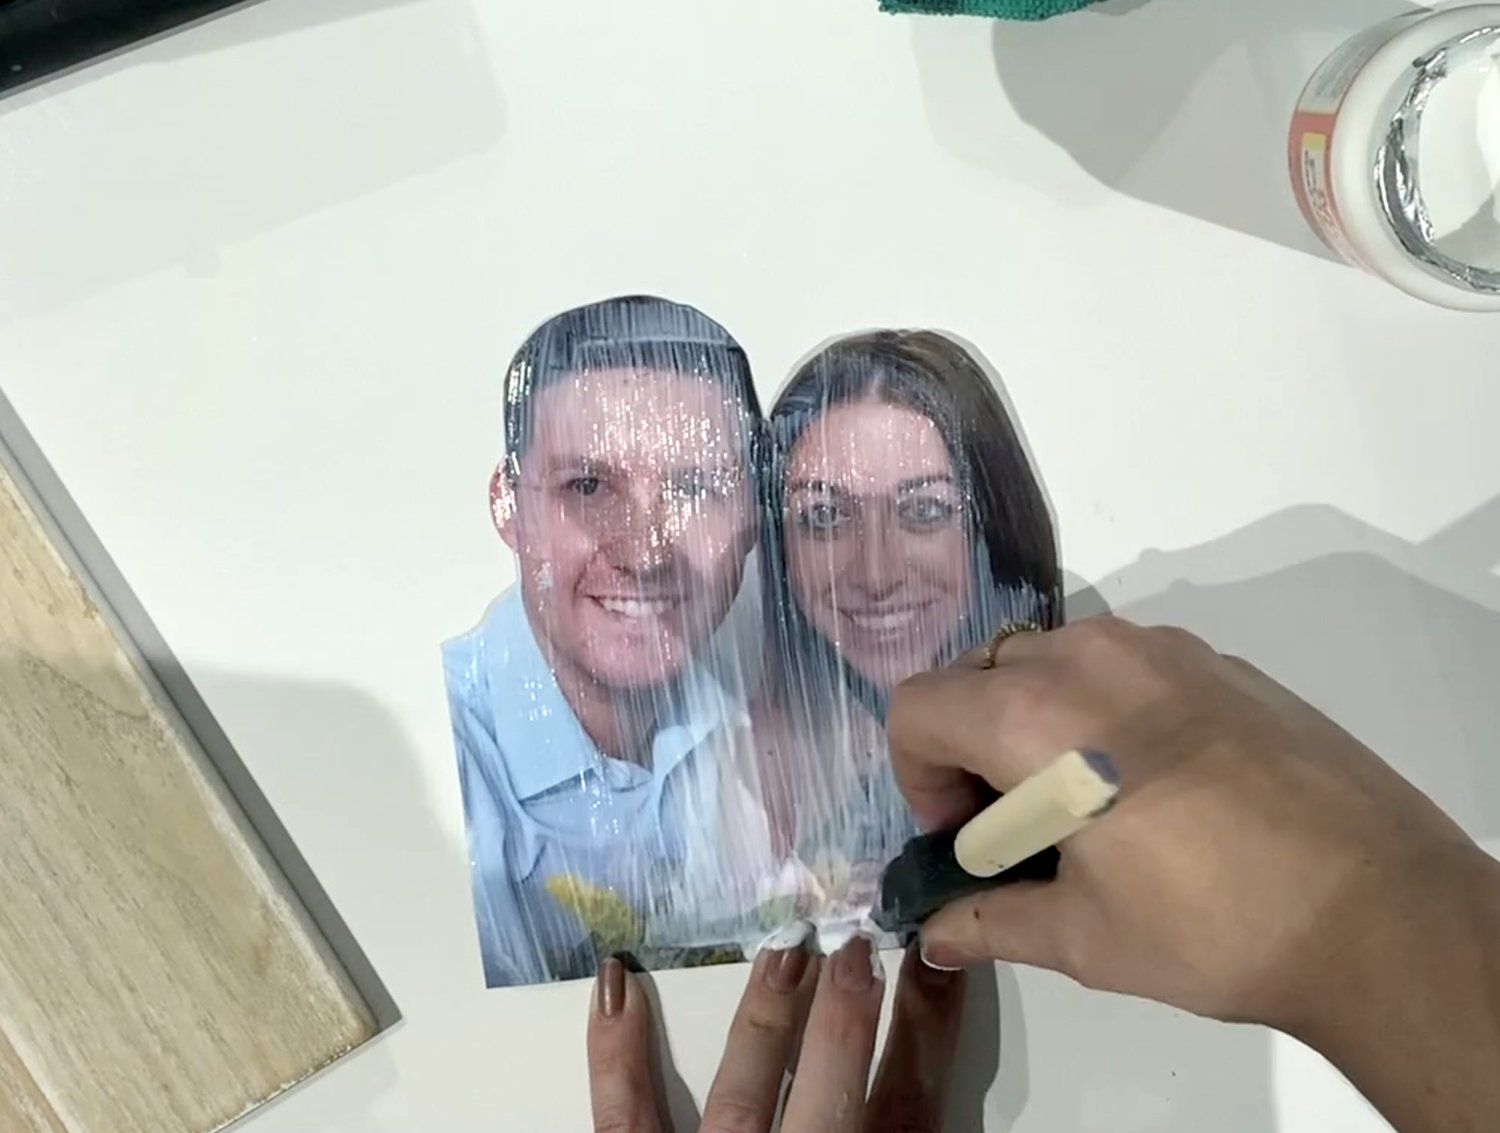
STEP 5: DAMPEN YOUR IMAGE

To make the next step easier for you, dampen a rag and leave it on top of your image for 15 minutes. This will help soften the paper to rub off.
STEP 6: USING A RAG CAREFULLY RUB OFF THE PAPER

Gently rub off the first layer of paper to reveal your image underneath. You can come back and do several layers to remove all the paper residue. It is better to do more layers slowly than to go too hard and fast and lift off parts of your image. You will see in my example, that is what has happened.
FINAL STEP: SEAL YOUR IMAGE
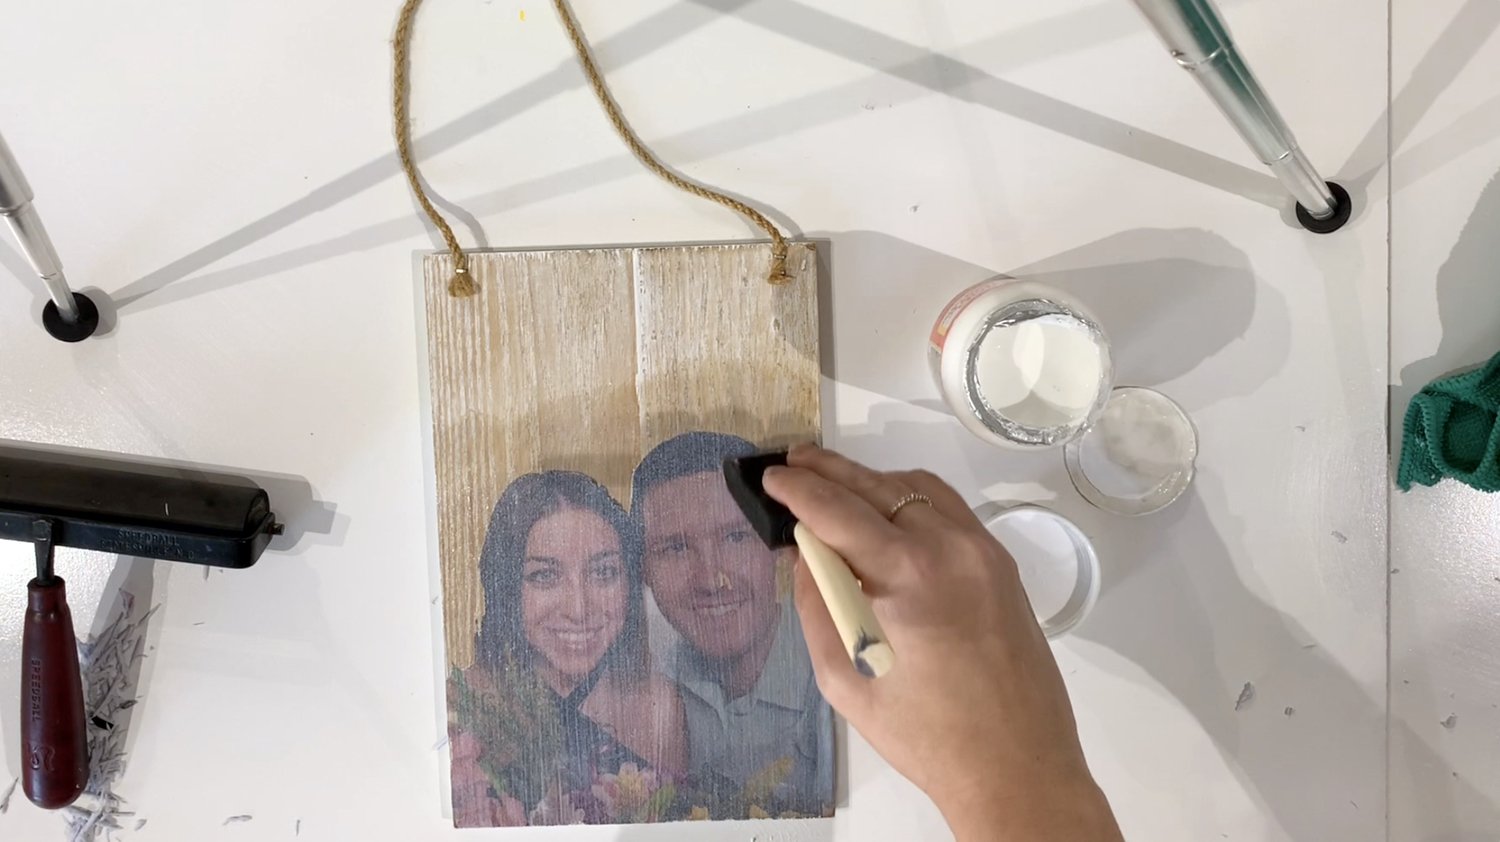
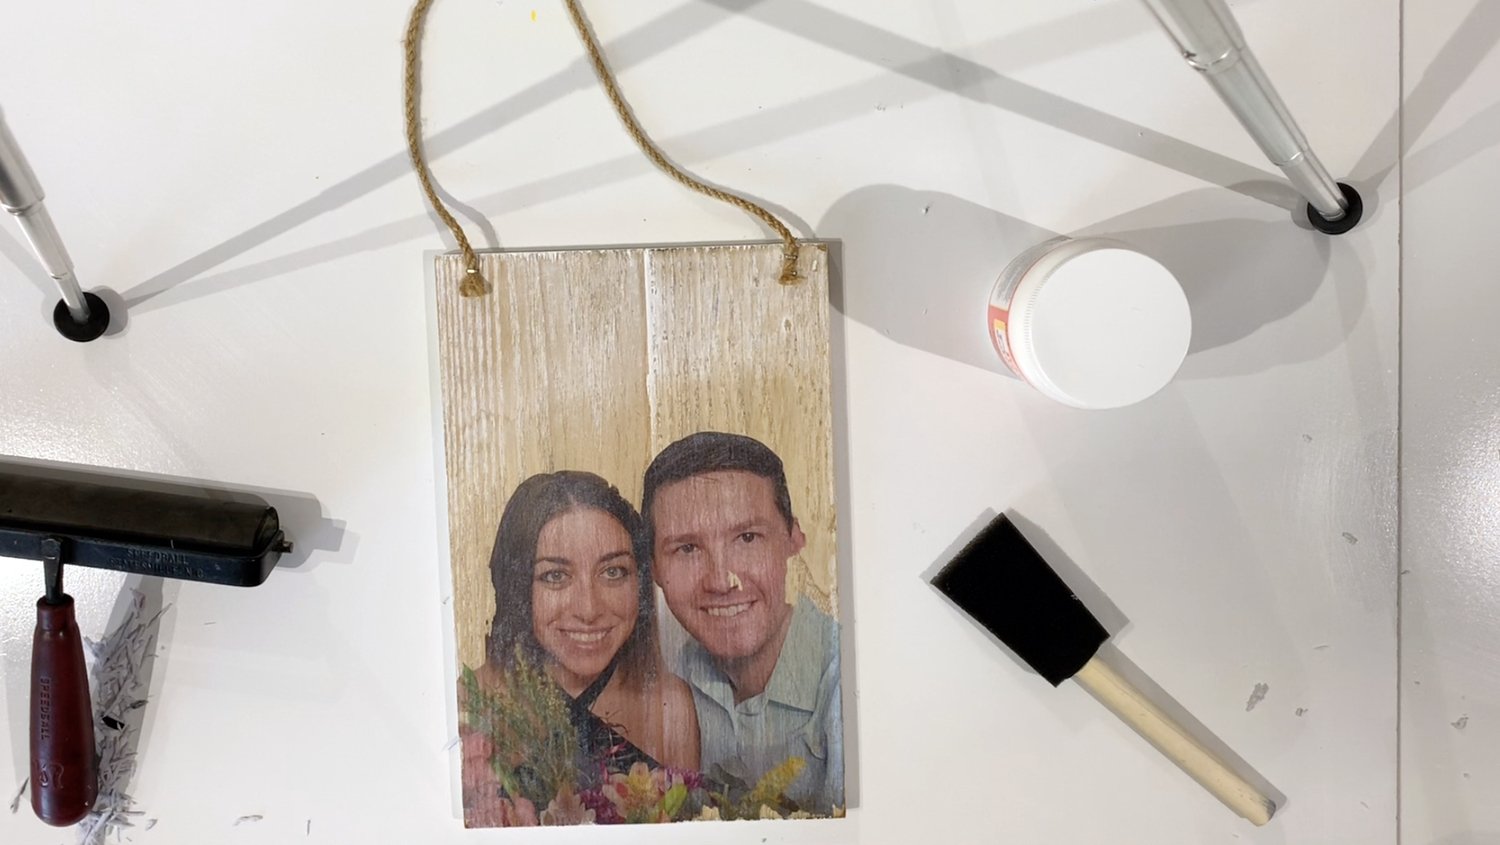
You will need a final coat to seal your image. In this tutorial I have used Mod Podge to seal the work. You can also use a gloss varnish or sealant spray, depending on what you have available and the type of finish you are after. The Mod Podge gives a more natural look, the texture of the wood still comes through. Using a gloss varnish will give your image a crisp finish. An example using gloss varnish is in my picture below.
An easy step by step tutorial on how to transfer a printed image onto a prepared surface. Surfaces can include wood or canvas! This is an easy, customisable way to create your own photo memorabilia for yourself or as a gift :)
There are so many ways you could apply this technique to your creative practice. I would love to hear any extra tips you may have discovered while experimenting with this technique. Happy creating!